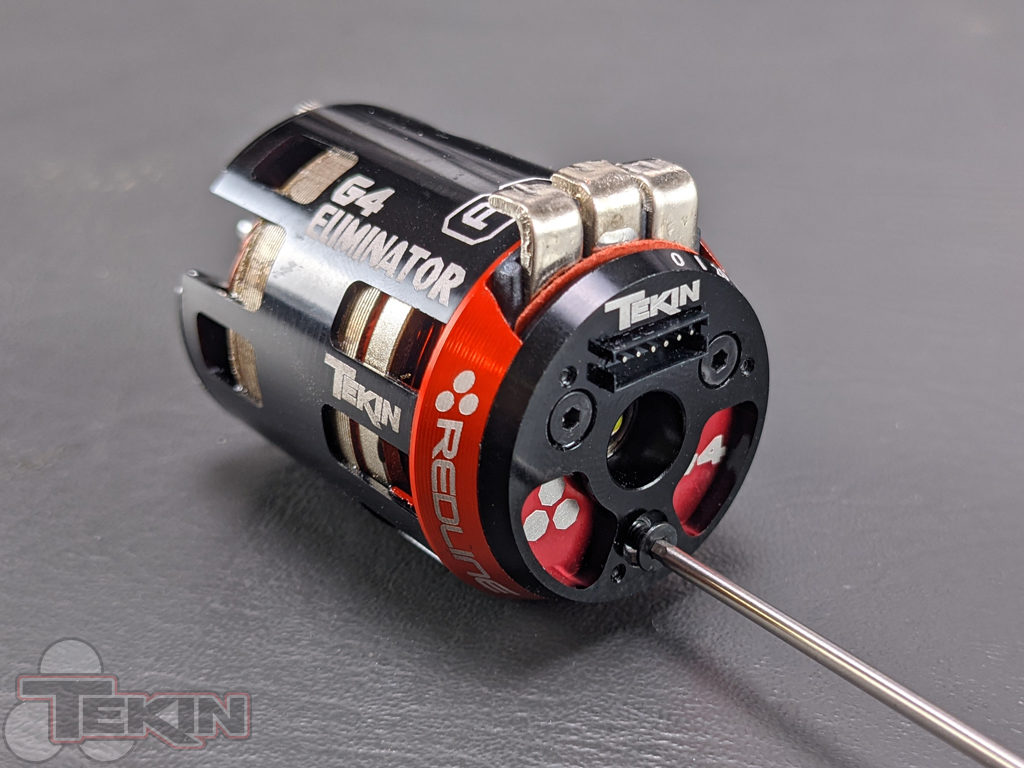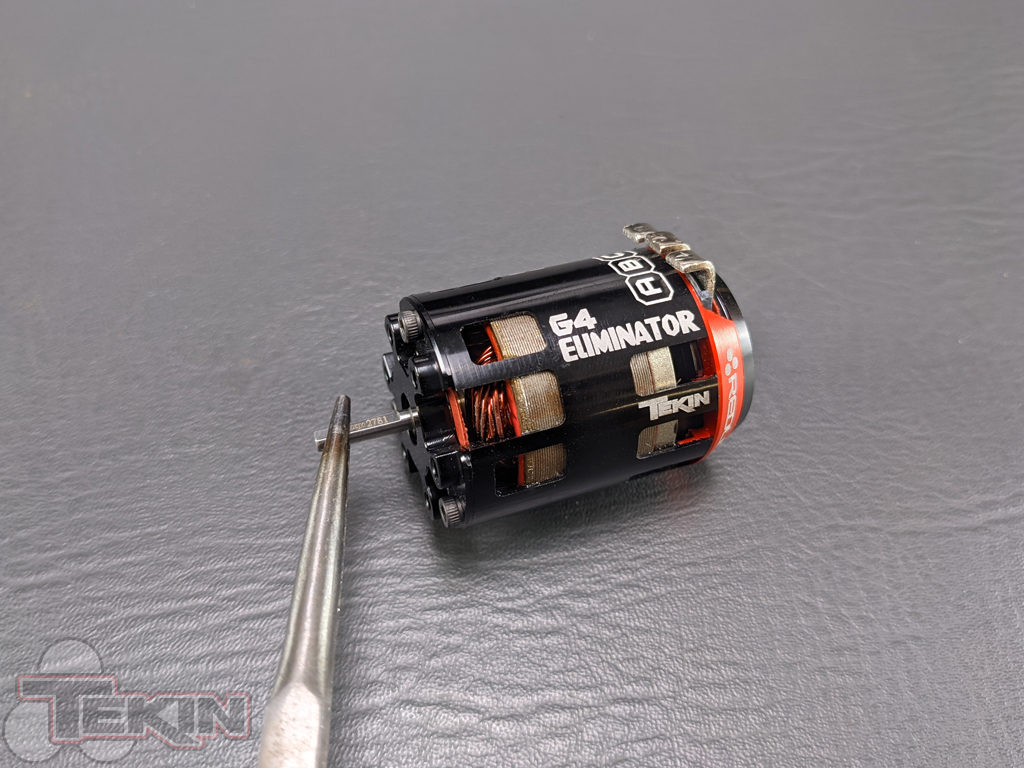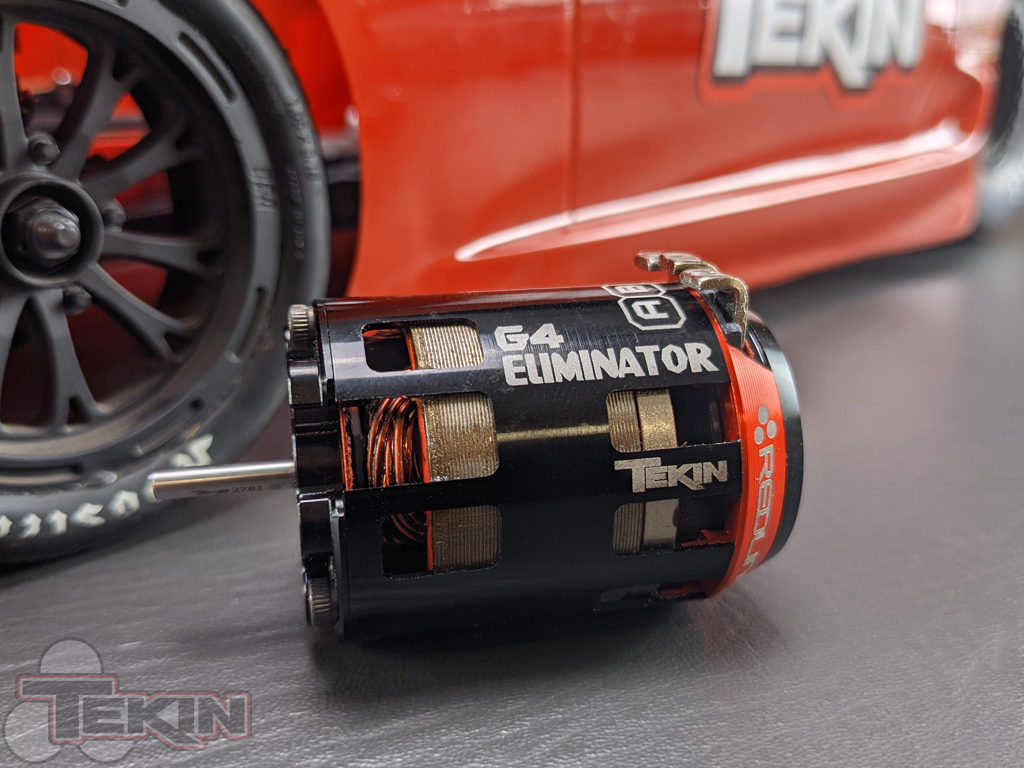
Let’s talk shims! Shimming. No, it’s not a dance move, I’m talking about positioning the rotor in your brushless motor and limiting its lateral movement using shims. Shims are included with your Tekin GEN4 motor and the rotor has already been shimmed at the factory. It’s not always perfect, so like gapping your spark plugs (yes you should) even though they are pre-gapped, you should shim your rotor (yes you should) even though it is pre-shimmed.
Why does the rotor position matter? The rotor has North and South Poles and as it rotates, the magnetic fields of these poles are picked up by the 3 Hall effect sensors on the sensor board. This info is then read by the ESC and the ESC now knows the rotor position. Knowing the rotor position, the ESC can time when to fire each phase in the motor and keep the rotor spinning smoothly and under control. Fire at the wrong time, bad things happen much like misfiring in an internal combustion engine. Misfiring can damage your ESC and be really hard on all of your equipment, so it’s important to keep the ESC happy!
So what do we need? The GEN4 motors come with shims in a little bag for your shimming convenience. We also sell Precision Stainless shim kits:
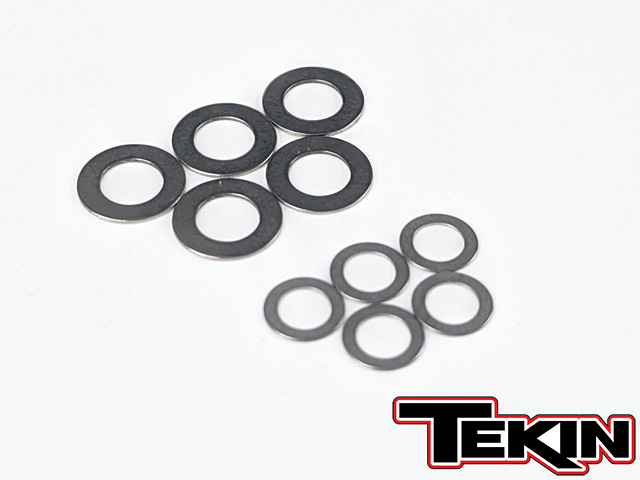
GEN4 Precision Stainless Shim Kit – TT3857
And Precision Teflon Low Friction shim kits:
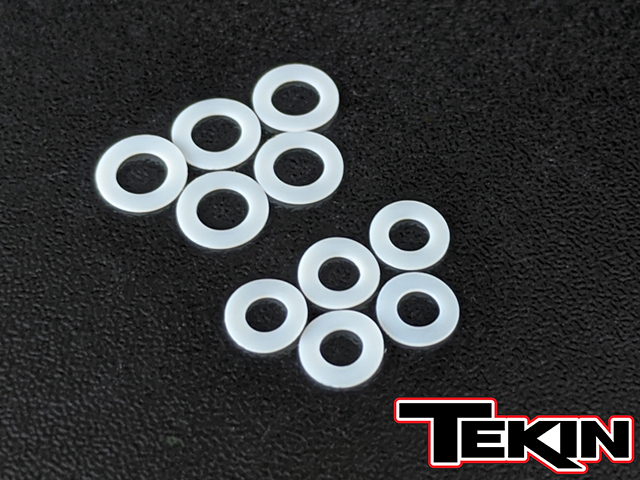
GEN4 Precision Teflon Shim Kit – TT3858
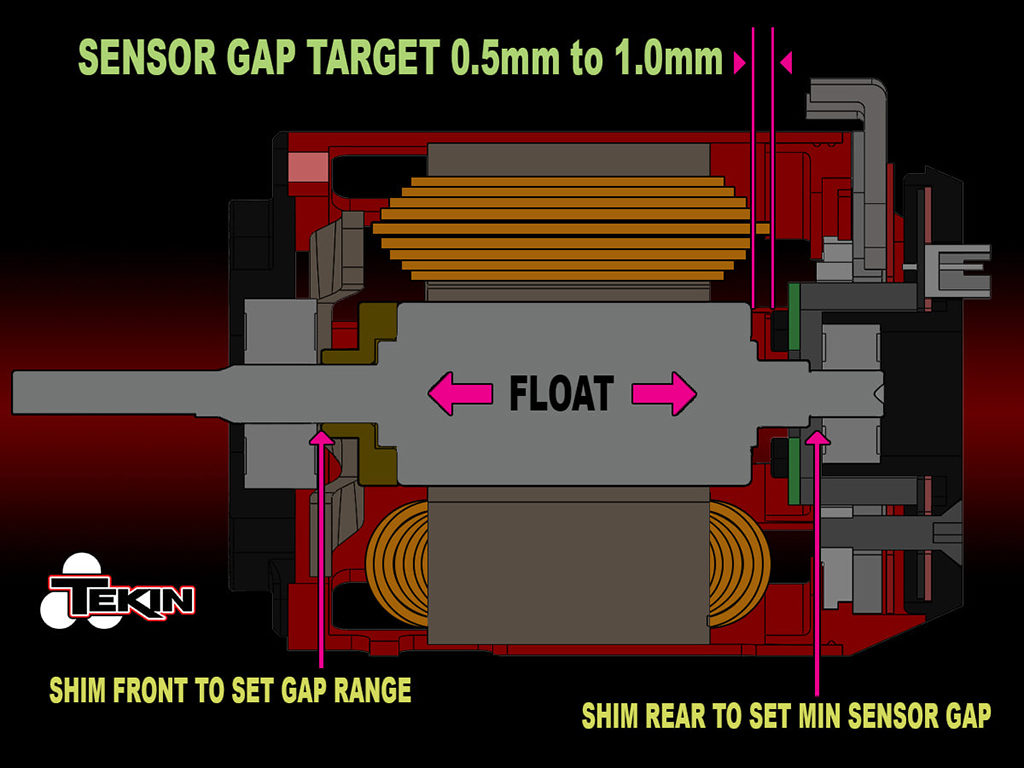
There are also shims already placed on the rotor, but you may need to adjust the positioning or limit some of the rotor float or movement. Below is a graphic that illustrates what to shoot for!
Let me explain what this is saying to do. You want to set the Sensor Gap first and as shown above, .5mm to 1mm is your target. The easiest way to do this and verify it’s within spec is to remove the rotor and the sensor PCB from the motor entirely. Once the Sensor Gap is set, shims are used on the front of the rotor to control the rotor float range.
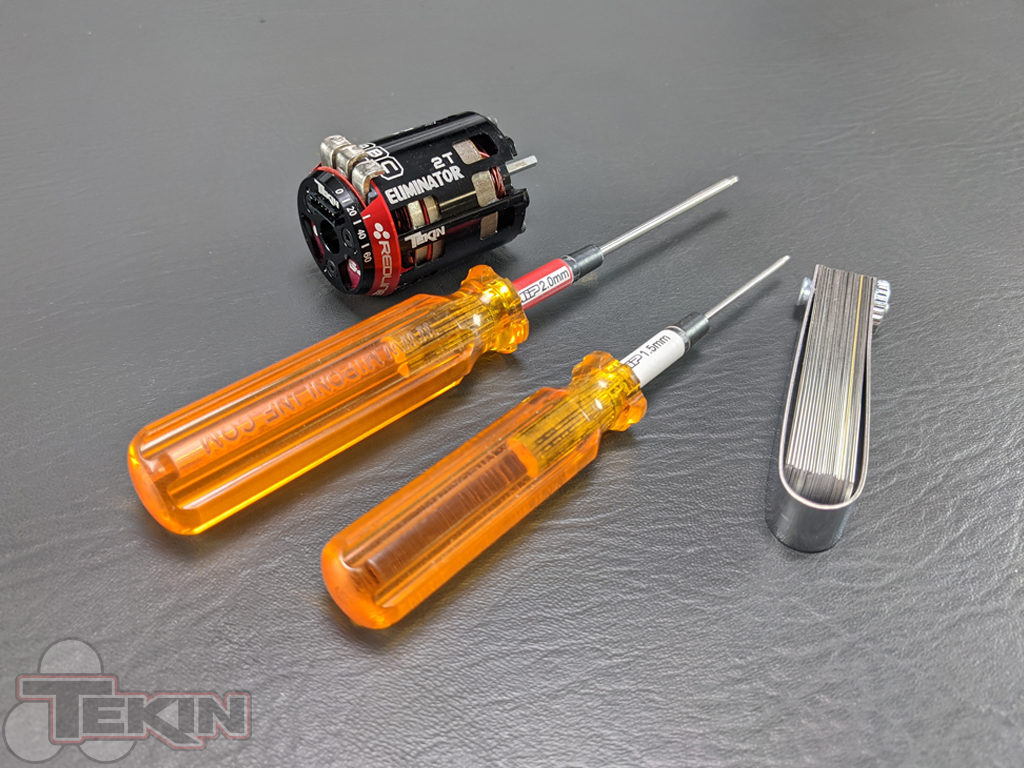
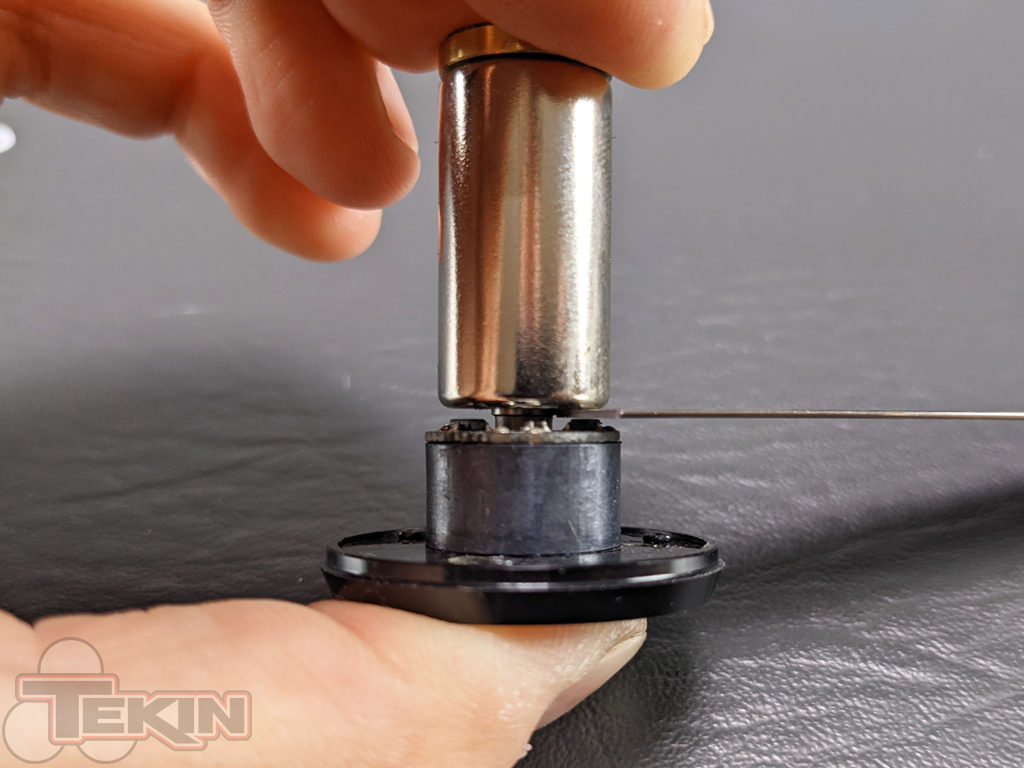
So let’s do this, grab a 2mm, 1.5mm and a feeler gauge if you have one! Feeler gauges are cheap and will help with shimming your sensor gap, you can find them online or any any auto parts store. Plastic or Stainless work best so the tabs don’t stick to the rotor while you’re trying to measure!
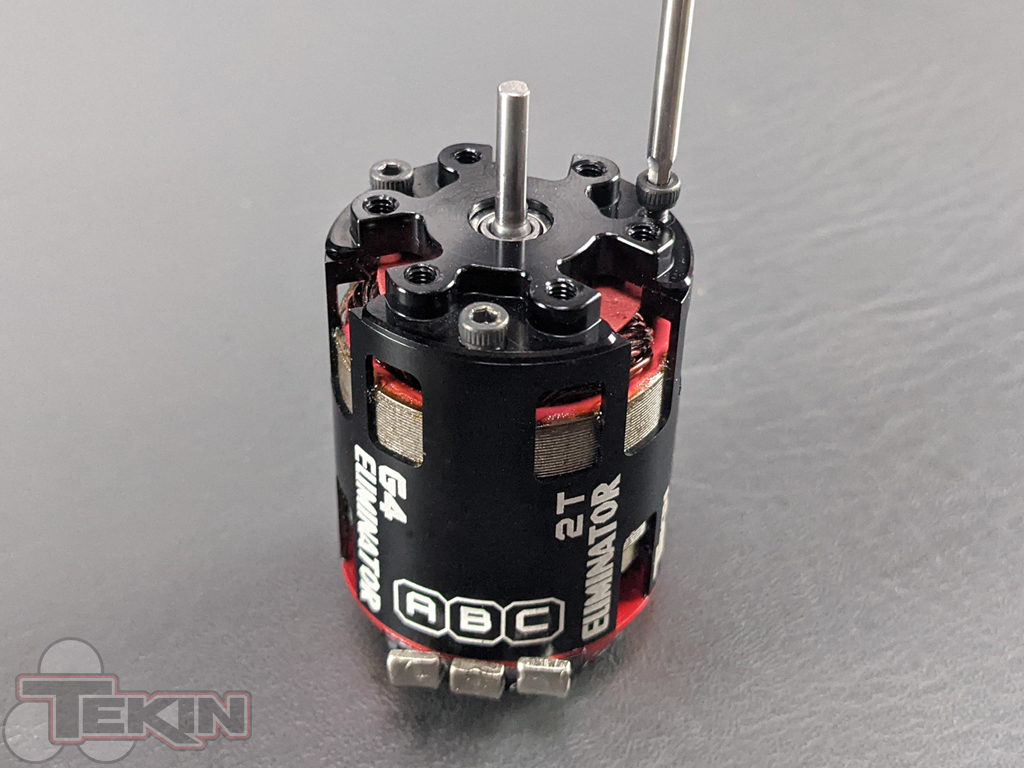
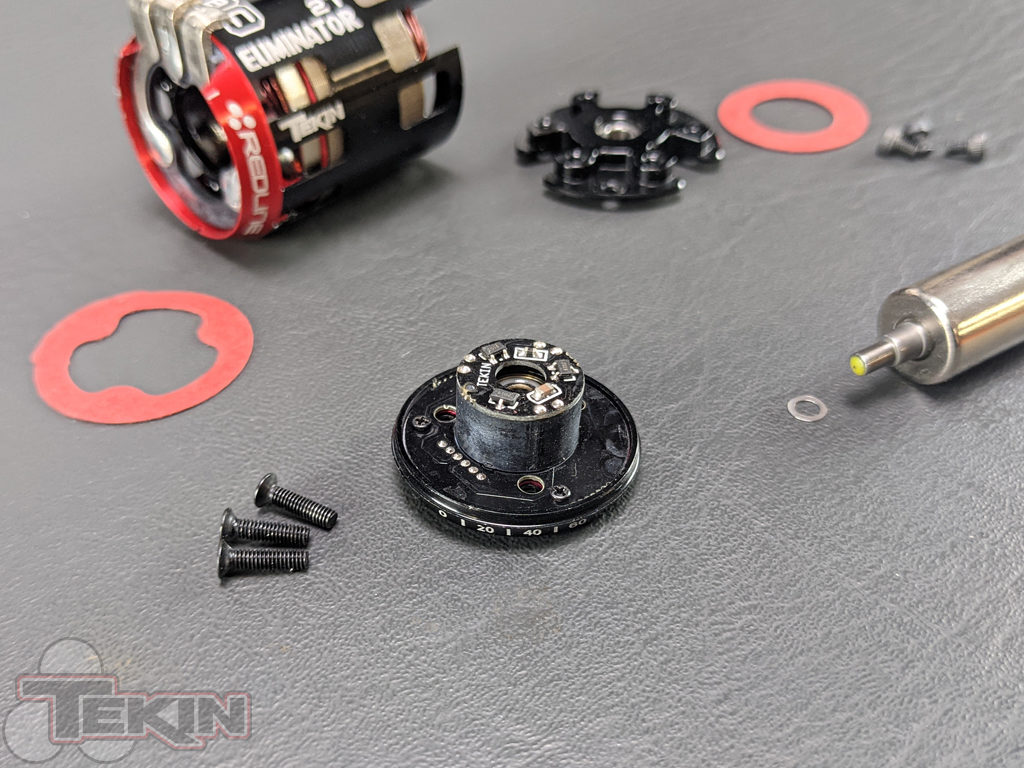
Start by removing the 3 screws on the shaft side of the motor with a 2mm driver.
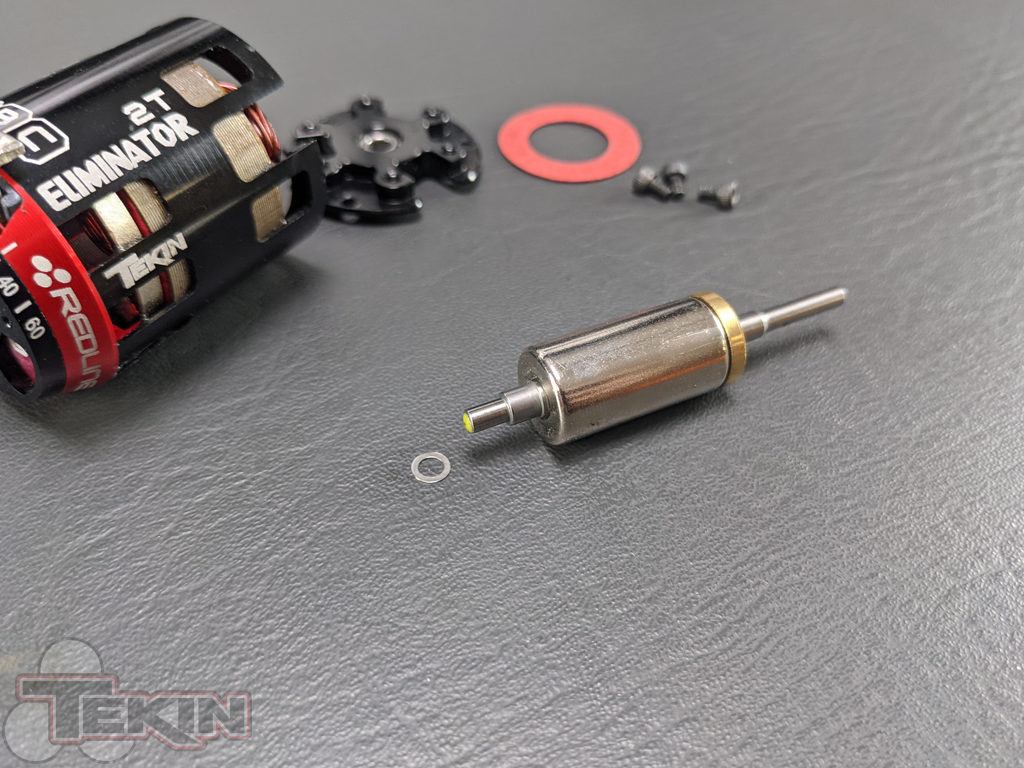
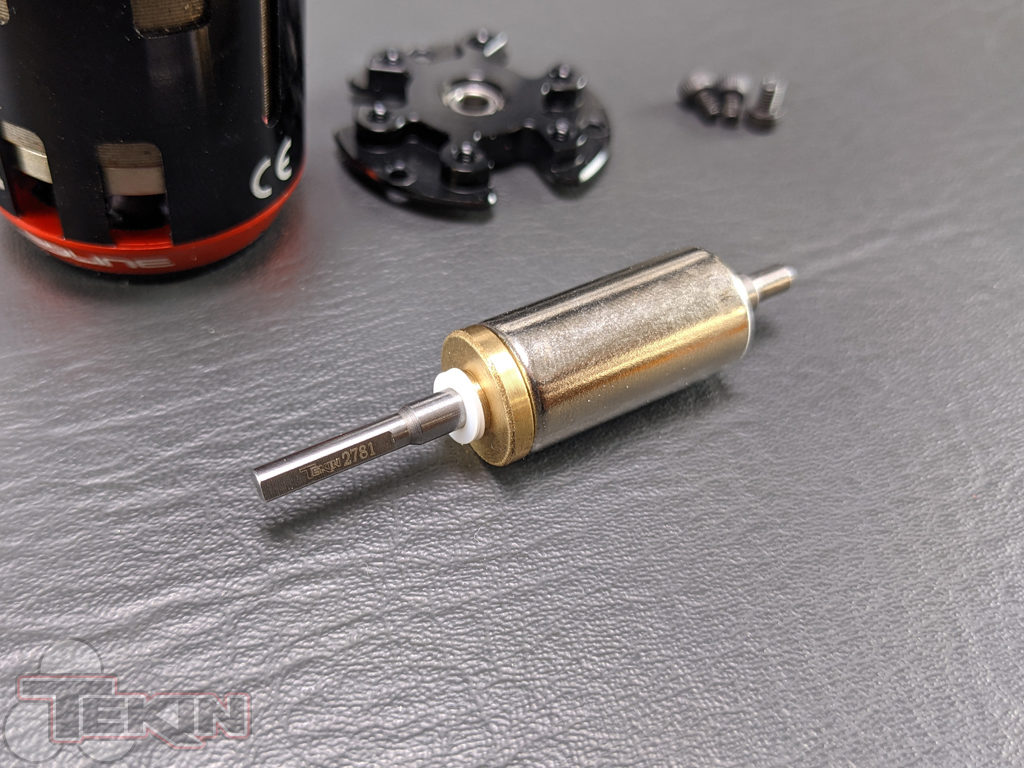
Pull the rotor out and be careful to locate all shims. You don’t want to lose them and you definitely don’t want them to stick to your rotor or somewhere inside the stator!
Next, remove the 3 screws on the end bell with a 1.5mm and pull the end bell off. The sensor PCB is attached with 3 small screws, you can leave it assembled.
Now we will set our minimum sensor gap. I took the rear shim off this rotor and with no shim at all we are just about .6mm using the feeler gauge. This is within spec and we are good to go!
Shims on the front of the rotor control the rotor float, or how much lateral movement it will have. I used 3 .2mm Precision Teflon shims to limit rotor float on this 2T Eliminator.
You’ll need to add a shim, install the rotor, screw on the end cap and check the rotor float for this process. It may take a few repeats and more shims to get the float where we want it. Since our sensor gap is set to .6mm, we want the rotor to have less than .5mm float range. You don’t want the rotor tight, so make sure you triple check at this step and ensure the rotor can still move a little bit.
Once you get your shims in and have the sensor gap and float set you’re good to go! Our ESC will be much happier with less chance that a sensor will be read incorrectly and cause misfiring. This 2T Eliminator is now ready for the street or strip!


